
In this article, we will be covering how to use the Testimonial component via the widget. This is part of a series for using the widget feature to host components on your website.
First, you should understand how the web components work. Normally, you would be importing the web components to your project with all of the dependencies. With the widget feature, however, you can add the web component to any website by simply copying and pasting the widget code onto a page. This can be a very useful tool if you are using a website builder or CMS for your project that could have limitations to customizability.
Below are the steps to quickly add the testimonial component to any website.
Step 1. Subscribe to a Skhemata subscription plan
Go to Skhemata’s pricing page and choose the plan that suits you the best. You will be provided with GIT access to the component code. You can also find the code for the testimonial component by going here.
Once you have access to the source code, you can then begin to use it in your project. The code linked above is the source code for the widget. This is the same code that is hosted on the Skhemata CDN with jsdelivr.
Step 2. Copy and paste the widget code
Now you can copy and paste the widget code onto your website. Here is an example of the widget code that you can use on your project.
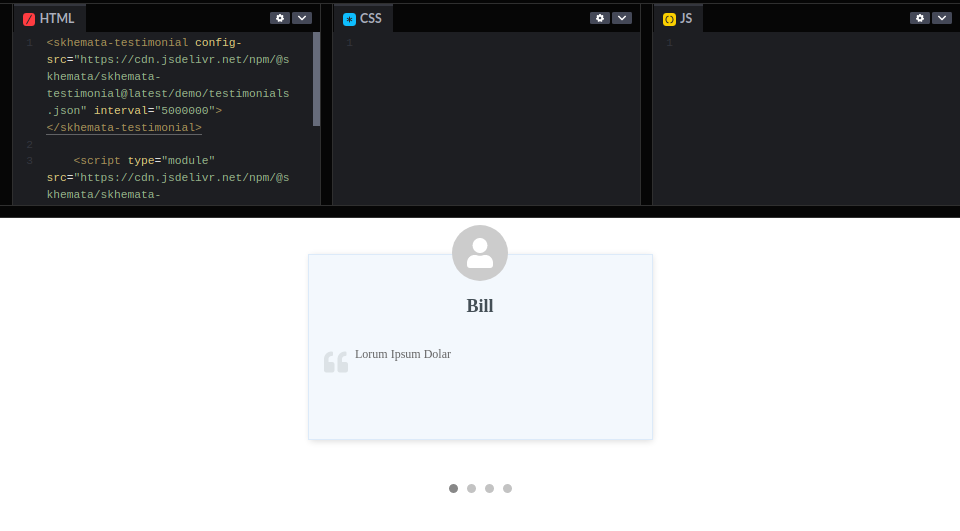
As you can see from codepen, you will only be copying and pasting HTML code. That is the only thing that you will need to copy into your project (besides replacing the config-src link, which we are going to cover in the next step). This should work on any website or website builder as long as you have the ability to add HTML to the page.
It is recommended to first try this on your site and make sure that you are properly adding it to your site before moving onto the next steps.
Step 3. Customize the component
You will notice that when you paste the widget code into your project, it will display default data. You will want to update this data with your own testimonials. To do this, you will need to copy the config-src file. I have an example that you can copy here. Once you’ve copied the code, save it as a JSON file. Below is an example of what the code looks like.
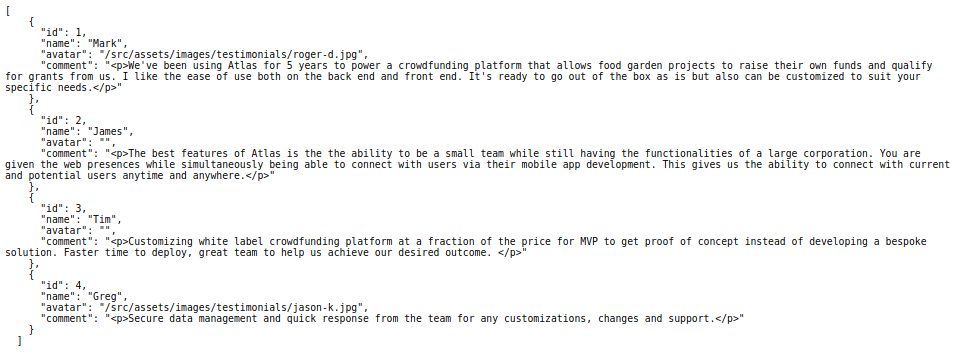
This is the data that is being displayed on the component. You can update the name, comment, and avatar (with a link) to make this feature more customized for your instance. If you want to add an avatar image, you will need to host the image somewhere. This, however, is not all of the customizations you can do to the component, there are other ways you can update it which will be mentioned below.
What you need to do, is host the above JSON file (I used GitHub) somewhere and reference this link in the widget code where it says config-src. You will need to replace the link that is currently added.
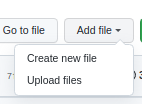
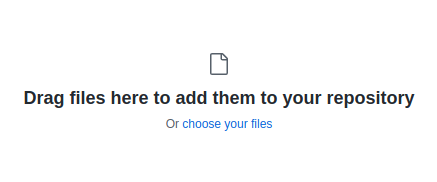
There are a ton of ways you can host the JSON file, but for ease of use, here’s how you can host a file on codepen. Create a new account and a new repository. Once you have an account and a new repository created, you can then upload a new file.
Once you have hosted the JSON file, you will then need to grab the URL to reference it in the widget.
To do this, click on your file in your repo. As you will see, I have named my file config-src.json so I will be clicking on that file.

This is where you are hosting the file. To get the correct link, you will need to append the following at the end of your URL: ?raw=true
Once you have added the above to your URL, copy + paste it into your browser and go to this new URL. This will take you to the raw JSON file that GitHub is hosting for you. You can then copy it. My URL begins with raw as you can see here: https://raw.githubusercontent.com/kyle-tummonds-skhemata/test/main/config-src.json
Now, you can replace the URL for the config-src with your JSON file.

You should see now that the content you have added in the JSON file will display on the widget.
Some additional customization that you can make to the component would be the following:
- You can add custom CSS to target specific elements of the widget to make it look different.
- You can use the HTML attribute to change the way that the component will function. For example, you can see in the widget code that there’s an attribute called ‘interval‘, with a number beside it. You can change that number if you would like the component to scroll through the different testimonials faster or slower than the current speed.
Further customizations may only be possible if you are importing the entire component into your project rather than using the widget method so you can access and modify the source code directly.
If you have any questions about how the components work or need help with using them, you can contact Skhemata support on the community Discord chat.